Modify Domain's Name Servers
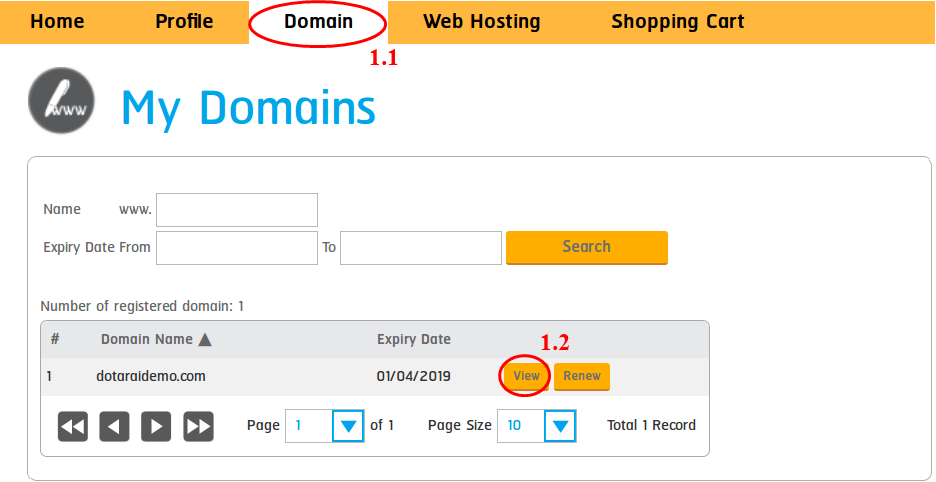
1. 1. Please login to your account and click on the Domain (1.1) menu. The list of the domains under your account will be shown. Click on view (1.2) next to the domain name that you would like its name server changed.
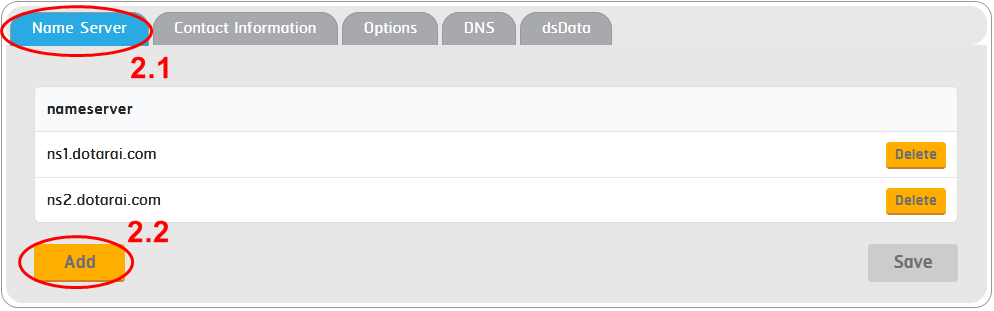
2. The information and status of your domain will be displayed. You can edit the Name Server by Click on Name Server (2.1). and click Add (2.2)
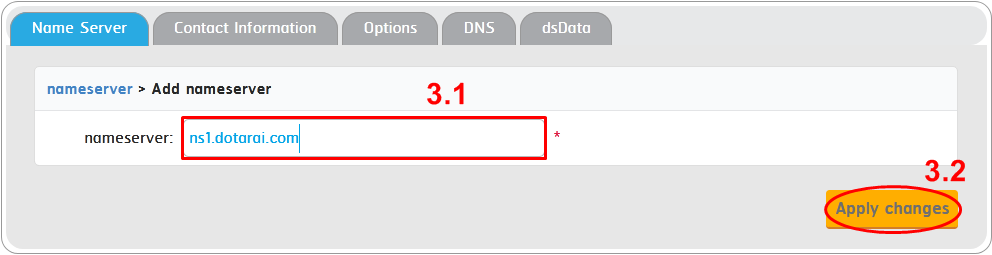
3. Input the desired name server into the Name Server (3.1) fields (insert at least two unique names). If you would like to use DotArai’s name servers, please change your Name Server to ns1.dotarai.com, ns2.dotarai.com and Click Apply changes (3.2)
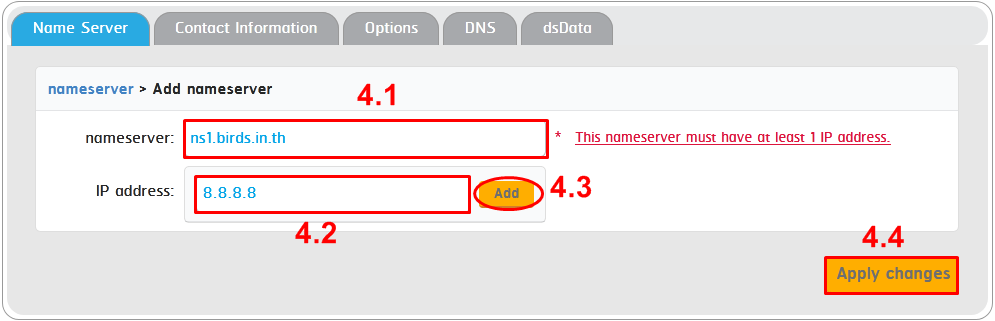
** For name servers that are within your own domain, you will need to specify the IP address of that particular name server. If you do not know its IP address, please contact your website’s or name server’s service provider to obtain the information **
4. If the name server you specified is under your own domain, enter the name server name (4.1), enter the IP address (4.2), click Add (4.3), then confirm Click Apply changes (4.4).
** If the name server is not under your own domain, please skip the step(4.4), and click Confirm Apply changes (4.4).
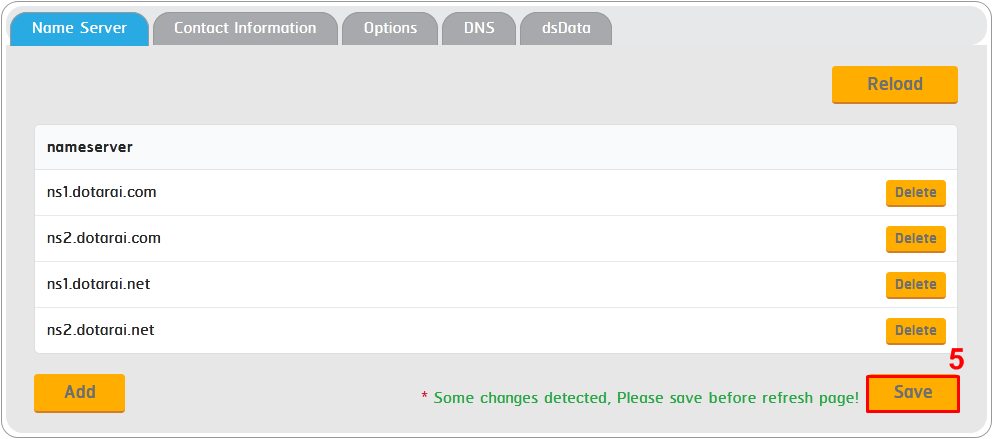
5. When you have finished editing your Name Server, click on Save (5).
6. If your input name servers are valid, the name servers will be immediately updated. However, if you find that your name servers wouldn’t change accordingly, you may contact DotArai’s staff via email for further investigation and assistance on the issue at support@dotarai.co.th.
** If your website’s service provider had finished setting up your website for you, you will be able to access your website after editing the Name Server**